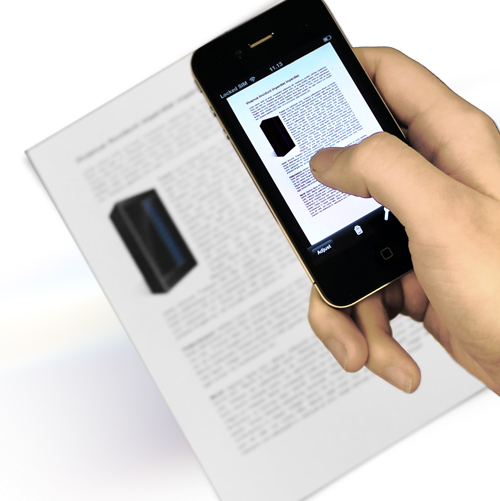
I’m a big fan of scanning things in order to reduce clutter. Some might argue that I’m merely converting physical clutter into digital clutter, but that’s a debate for another day. I’ve tried various methods to always have a portable scanner with me, including getting a non-branded version of the IRIScan Book 2. In the end, I always settled with using my iPhone’s camera for taking quick photos of stuff, and keeping the documents that needed to be scanned by an actual scanner until I got to my fiancée’s house, which had a Canon MX 426 multifunction printer.
In case anybody is wondering, I stopped using the IRIScan Book 2 (and I’ll continue to call it that, as I can’t recall what the non-branded one I have is called) because it always took a conscious effort to scan the document in a straight line, and the colours wouldn’t always come out accurate. Not to mention the fact that I wouldn’t always have it with me. I guess a portable scanner has to live by the same rule as a portable camera: “The best camera you have is the one that’s with you“.
I previously toyed with some other scanning apps before, namely Genius Scan, but it always seemed like too much effort for too little return. I can’t remember the exact issue I had with Genius Scan, since it was a long time ago since I used it, but I ended up not using the app.
Eventually, I ended up buying DocScanner on a whim. I’d heard good things about the app before, but I wasn’t prepared to stump up $4.99 for the app. After using it for a few weeks now, I must say that it was worth every penny, and it’s firmly incorporated into my workflow.
Some of the key features that have got me hooked on this app include:
Very good automatic detection of borders and document types:
Some of the apps I previously tested required me to manually define the area of the document, and often I had to do some micro adjustments just to get the document scanned without having additional stuff scanned in. DocScanner does it wonderfully, and I’ve almost never had to make an adjustment. A good tip when using it is to put your document flat on a surface that is a different colour from your document. That makes things go much faster and smoother.

Excellent image processing
As you can see from this picture, the scan is very clean, and everything is very legible. If I didn’t mention it, nobody would have guessed that I “scanned” this menu in a dimly-lit restaurant, and that the background of this menu was actually pink.
Export to Evernote and Dropbox
My scanned documents almost always end up in Evernote, or Dropbox, depending on what I’m scanning. The ability to export directly to Evernote and also choose which notebook (folder) that I want to export it to is a real time saver. I do wish that I could just set it to save to a predefined Evernote notebook, though, instead of having to select a notebook every time.
Is this app flawless? No, it isn’t. I do have one issue, but it’s not a deal-breaker.
I can’t manually tweak the quality of the scan
DocScanner automatically detects the document type that I’m trying to scan, and when it detects that I’m scanning a name card, it’ll use a lower resolution to scan. That’s fine most of the time, as it saves space too, but there are times when the name card uses a font that is too thin or too small. In those cases, I’d prefer a higher quality scan, so that I can zoom in later to see the details. So far I haven’t found such an option. My workaround is to use the “Misc.” category to scan, which requires me to manually draw the borders around the document, but scans at a higher quality. It’s a little irritating, but it works. “Document” mode to scan. It does the job and my namecard is scanned in a higher quality.
Final thoughts:
If you’re not hot on digitising your documents, you can probably save your $4.99 and just snap pictures of whatever you want to digitise, but if you’re like me and do a lot of scanning, this is an amazing app.
PS: I just paid a deposit at a restaurant for my wedding next year, and about 30-seconds after I was handed the receipt (and while the person was still talking to my fiancée), the document was already in my Evernote inbox, filed, and out my mind. That’s how convenient it is.
Update 20th Oct 2013: One thing worth clarifying is that this post is about DocScanner for iOS. I’ve tried DocScanner for Android (when I moved to an LG Nexus 4) and I really wouldn’t recommend the Android version to anyone. CamScanner seems to work pretty well for Android, though it doesn’t come close to DocScanner for iOS in my view.
Leave a Reply