One of the biggest hurdles I always had to learning and installing FreeBSD or Linux was getting it installed. Though it’s much easier nowadays. As a reference point, the last time I installed and used Linux as my main operating system was back in 2006 with Ubuntu 6.06. Many things have changed since then.
This time I felt more confident as I was armed with the famed FreeBSD handbook to guide me. If you’re looking to get started with FreeBSD, I’d suggest you go through it and get an idea of things. It’s a great resource to use.
Some of the images below are sourced from the handbook, since it’s a lot prettier than the photo I took of my computer screen, and the file size is a lot smaller.
Table of Contents
Hardware
My choices of installation destinations were the spare Dell laptop, an old Dell desktop, and a virtual machine. While a virtual machine would be easier and safer to get started with, I felt it’d probably just be more fun to use the desktop, as eventually, I’d want to build a NAS. So, a desktop would make more sense. The desktop had an Intel Pentium Dual-Core E5400 CPU with 4GB of RAM.
I was slightly concerned about the amount of RAM because if I wanted to test ZFS, it might require more RAM, but that can be addressed later.
I threw on an old 64GB SSD, hooked it up to a spare monitor and concluded the hardware was ready for use.
Installation media
The relevant section of the handbook gave me a few images to choose from, and I went with the memstick.img option.
Getting the image written to a spare USB drive using the command line utilities in macOS would be simple enough, but I’ve always had this irrational fear that I might accidentally write it to the wrong disk, so I decided to use the old installation of Windows 7 that was on the Dell desktop to burn the image. That way any mistakes would be contained there.
I downloaded Win32DiskImager recommended by the handbook from SourceForge, though surprisingly all I received were the source files. Usually I’d expect to get an executable too. Considering I wasn’t going to compile it from source, I decided to just look for another program.
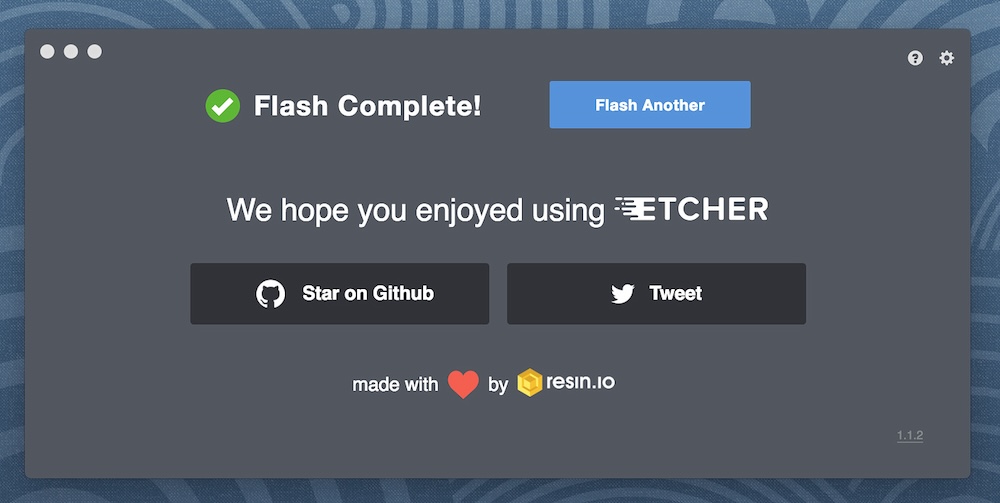
Halfway through, I realised that I could just find something with a graphical interface to burn the image on macOS instead, and I ended up following the steps on the Ubuntu tutorial page and used Etcher to prepare the installation media.
Installing FreeBSD
I initially thought I should create a screen capture or photo of each and every step of the installation, but as I went through the installation itself, I felt that idea was unnecessary as the handbook already had extremely detailed step-by-step instructions, along with screenshots and detailed explanations on basically every option that was presented to me.
To me, that was an amazing validation of the handbook, and I really have to tip my hat to the folks behind it.
Because of that, I’m only posting certain parts of the installation process below where I felt might be more relevant to my thought process. If you’re looking for a step-by-step guide, the handbook is the way to go.
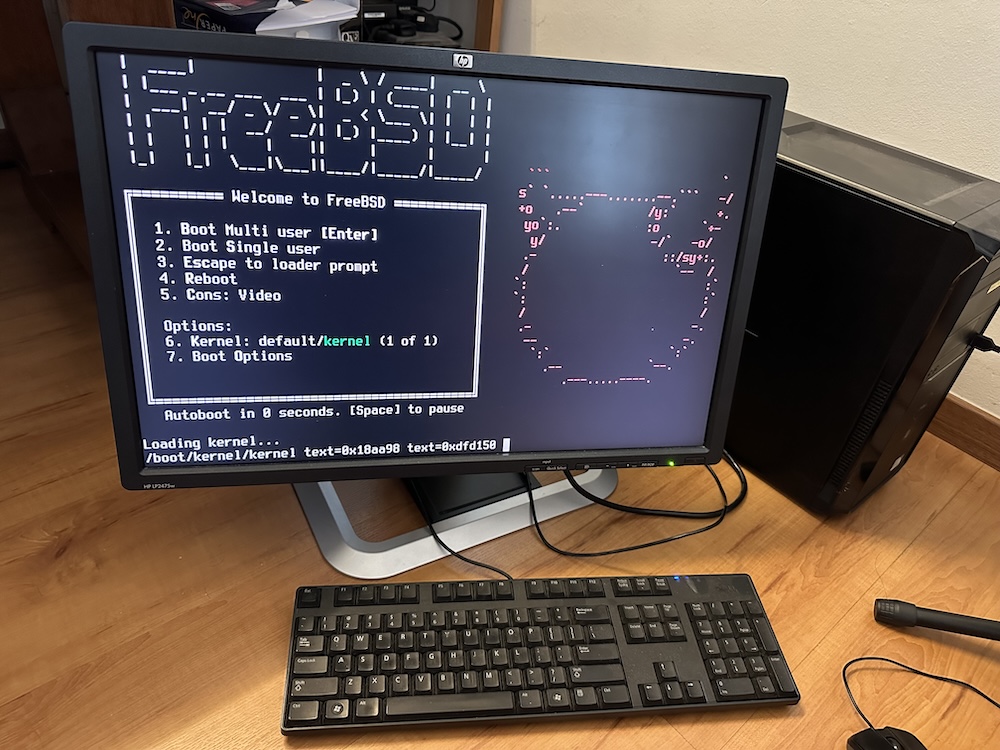
Once the installation media was ready, booting into this screen was straightforward, and I selected 1 to proceed.
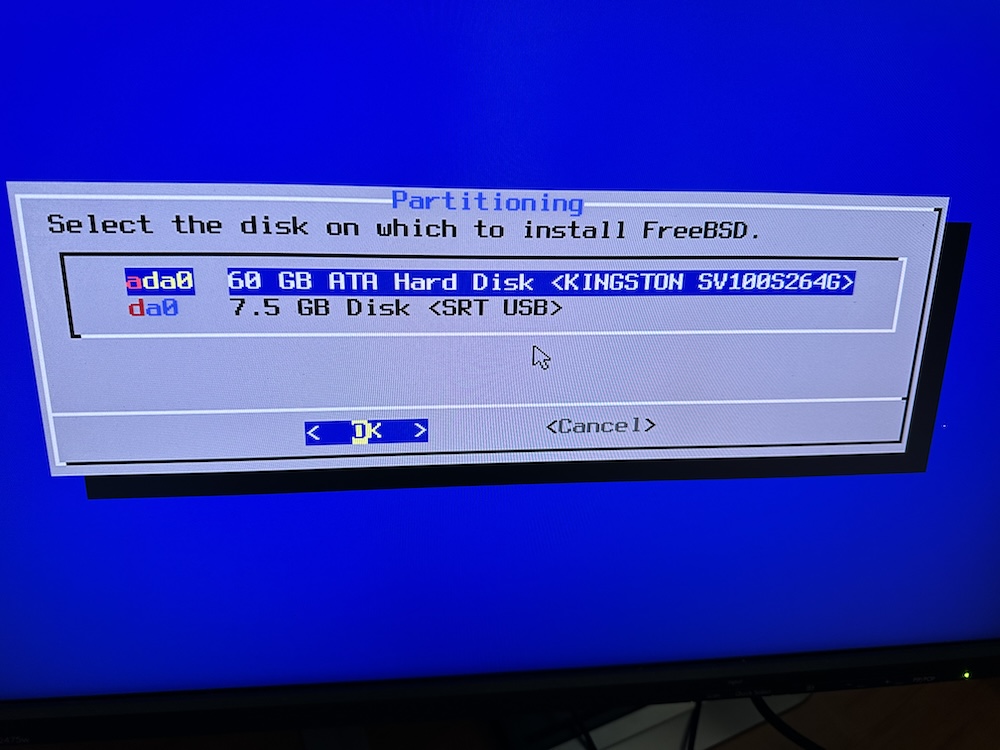
Selecting the correct disk was pretty straightforward.
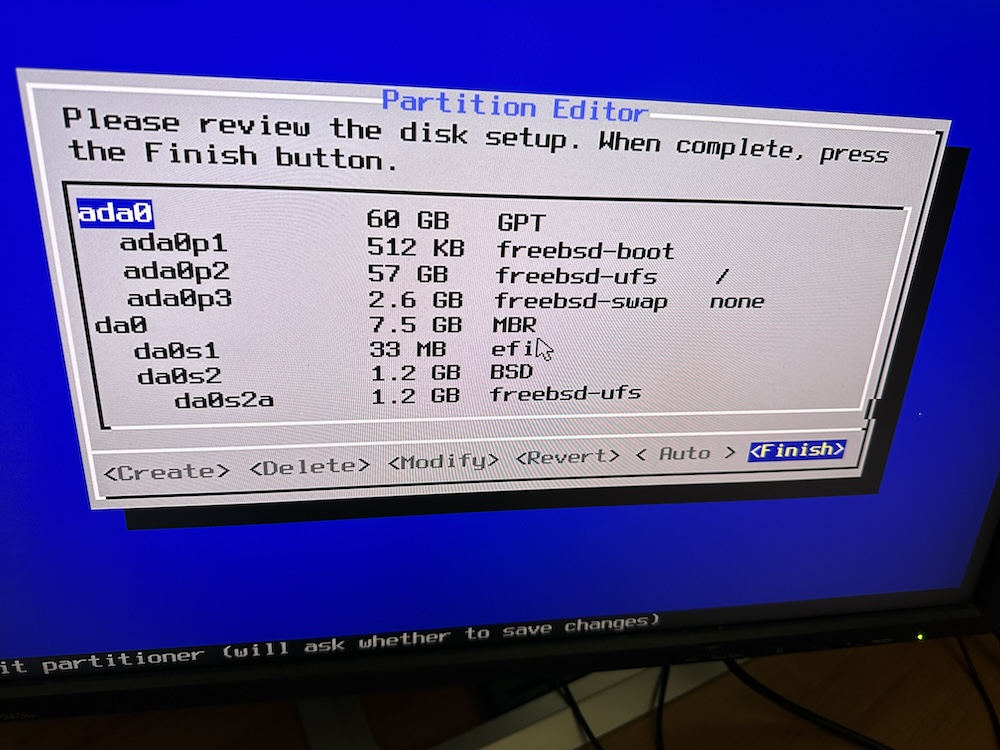
It was my understanding that the swap space should be double that of the actual RAM size, and I’m not sure why the defaults set it at 2.6GB instead of 8GB, but I decided to just roll with it and see what would happen later.
I decided to go with the UFS file system for now over ZFS due to my earlier concerns over RAM. I’ll explore the differences and requirements of ZFS later.
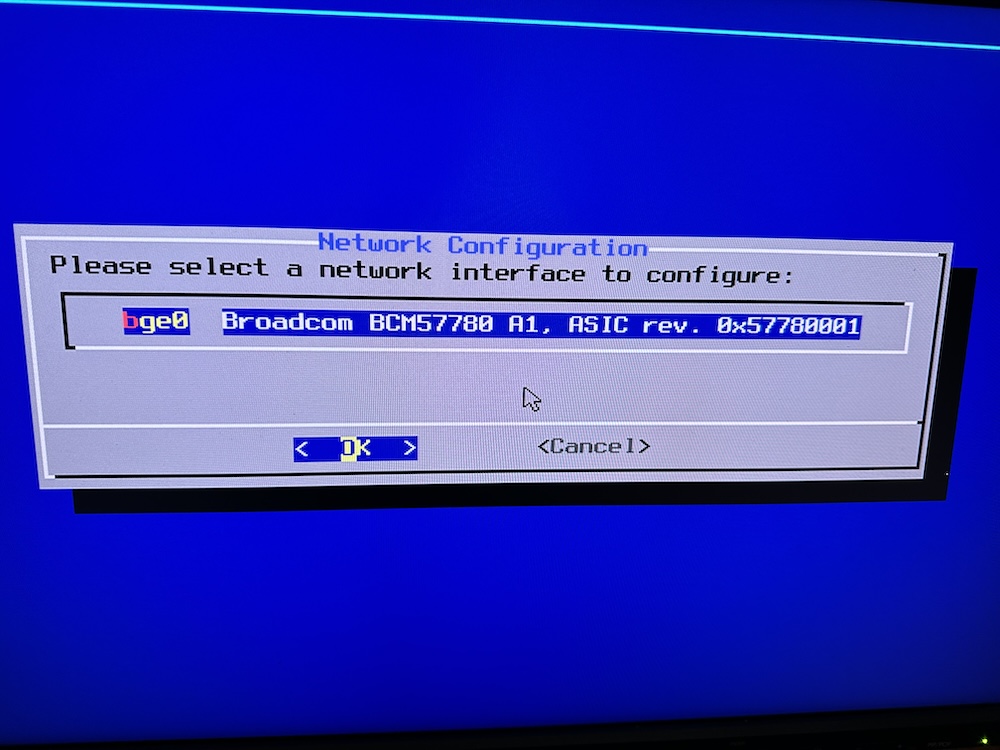
Most importantly for me, the network card was detected and an IP address was retrieved over DHCP without any fuss.
I recall many years ago when I had trouble getting my network card detected and installed in Linux, which caused me a lot of grief.

I was a little confused and frustrated here, because I had selected OK, and didn’t get any feedback for a few minutes.
I thought I didn’t successfully key in my input, when in actual fact it was probably just writing the final bit of set up.
Fortunately nothing bad happened, and I just needed to wait.
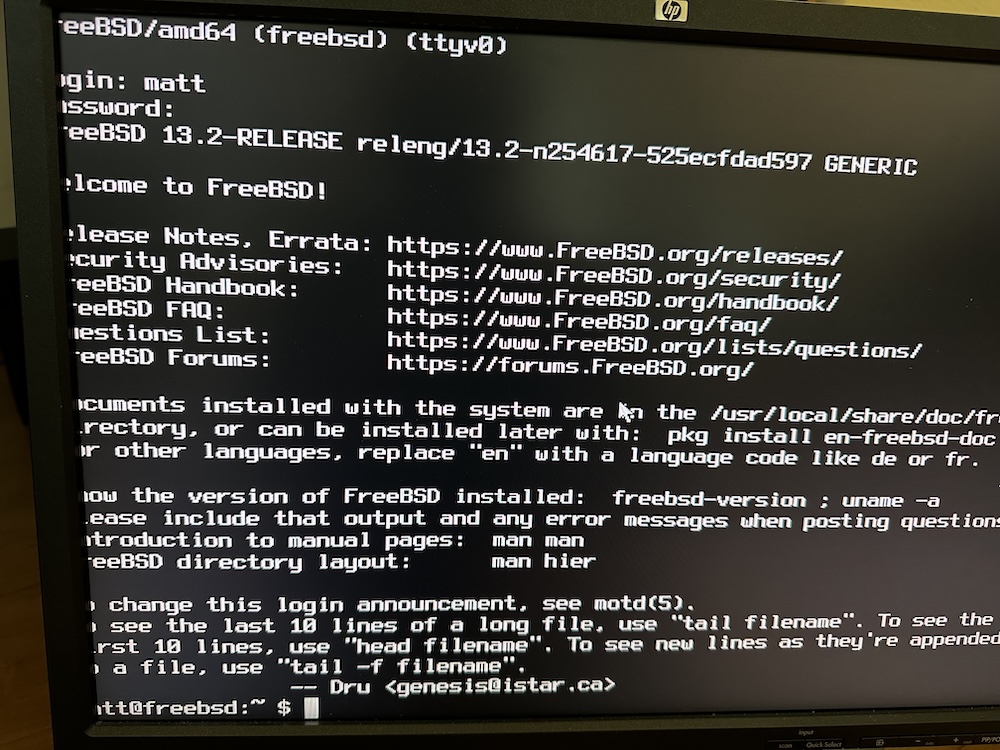
After all was said and done, I managed to get FreeBSD installed and logged in. It was really straightforward and I should have tried this sooner instead of worrying about the challenges that I might have faced.
Conclusion
From this exercise I’ve happily accepted that the FreeBSD handbook is a really good resource that lives up to its name. If anybody wants some help with FreeBSD, I think it’s a good place to start.
If you’re keen to find out more about the FreeBSD project, I think this video is a great place to start. It’s one of the first videos I watched to get a better understanding of the project.